When I'm not busy being "blackprints" and touring with musicians, I'm living in my home in Portland, Oregon. Being a photographer in Portland means a crazy busy season in the spring/summer, and then a lull during fall/winter when it's pouring rain and no one wants to shoot. So, in order to fill some of my time, I shoot for a lot of brands on the side. Brands love outsourcing content photography because they'll get a new perspective (aka what their in-house photographers maybe can't do), or maybe they just don't have in-house photographers to use for a certain project. But even beyond the paid aspect of shooting for a brand, learning the art of taking good photos of inanimate objects is a huge skill to have as a photographer. I know so many people who can slay a portrait, but can't understand the nuance of "anonymous model" shots (will explain this below). I've done about everything from clothing to cars to food to makeup and hair products, and here are my top 5 tips when shooting products!
1. Perfect The Flatlay
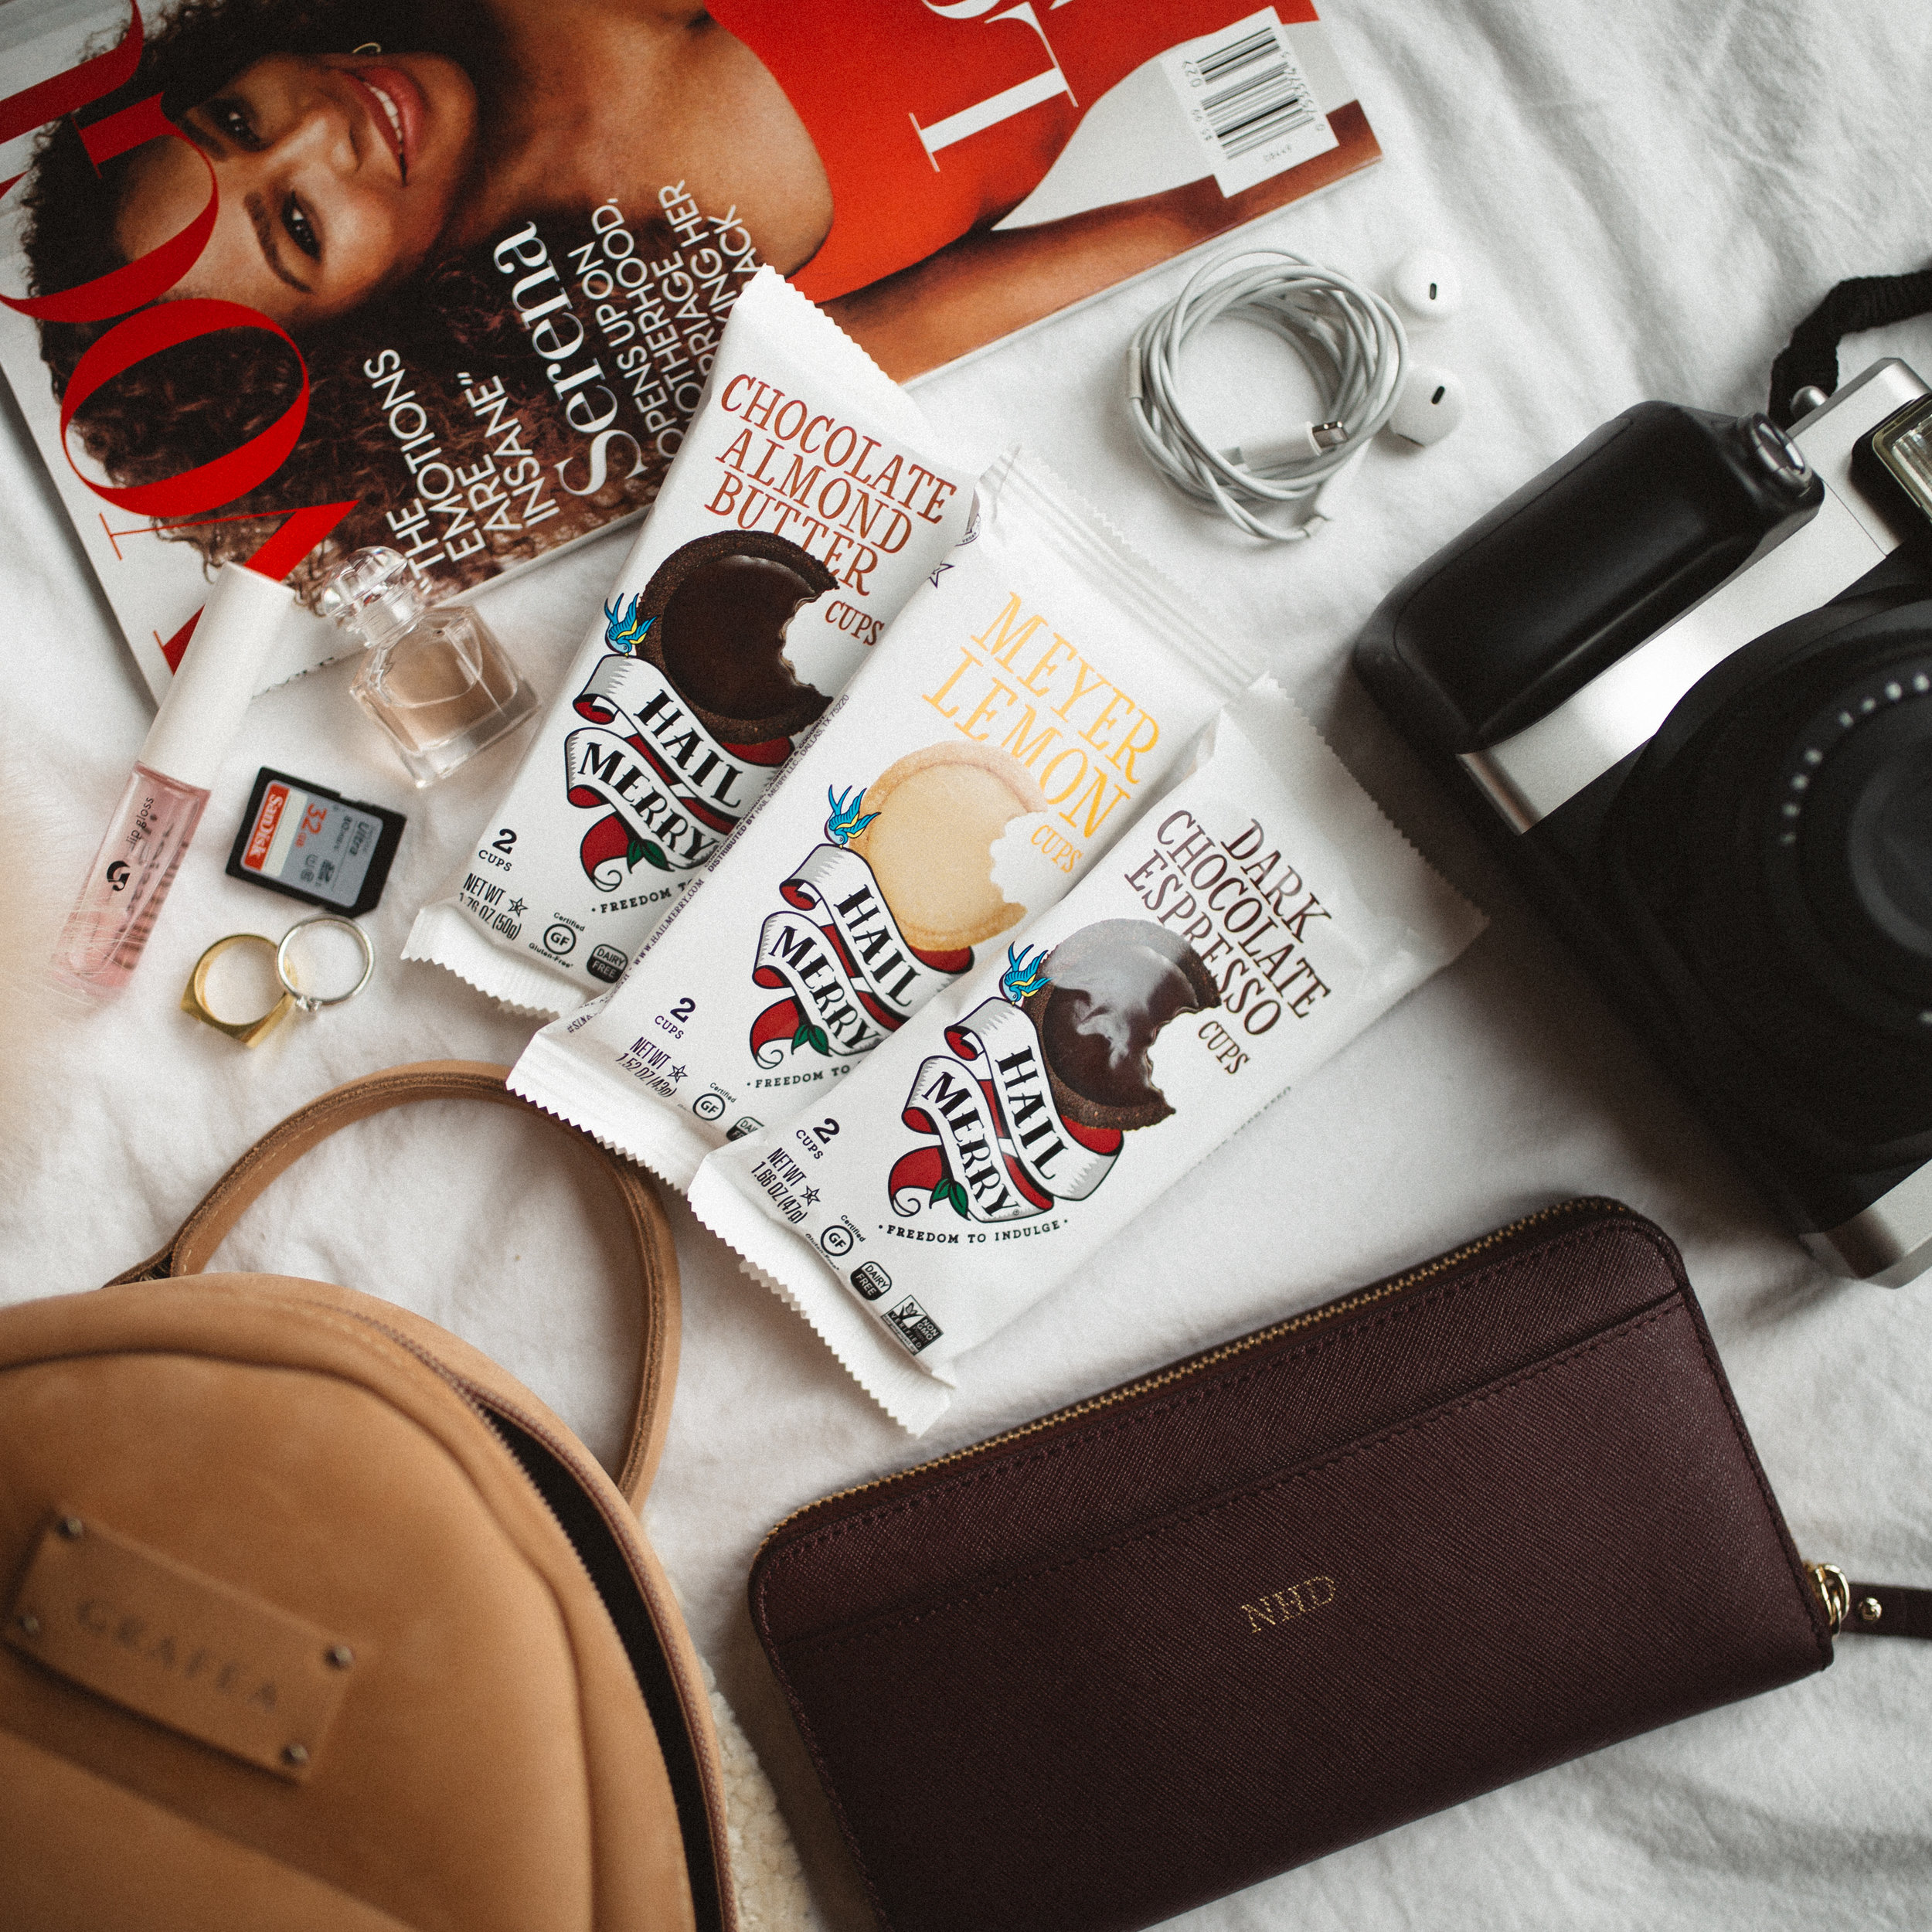
Being able to take thoughtfully arranged, well-lit flatlay photo will get you far, both with picky brands and followers who appreciate an aesthetic image. Flatlays are honestly not my favorite, but it's something I've had to do a lot of because companies love images like this for their socials, since they illuminate product more directly. The best flatlay is subtly branded, with coordinating colors and even lighting. In the photo I took for Hail Merry above, they had specifically asked for a pop of red to match their packaging (which luckily, that month's Vogue cover had the perfect shade for). This is a simple "what's in my bag" style photo I laid out on my bed and shot from above. To minimize shadows and get natural even lighting, I often shoot on my white duvet, in front of the window by my bed.

2. Focus On What Matters
This image was for Devacurl's holiday campaign, and I used a prism and Christmas lights to get those fun rainbow/bokeh effects. However, something to always remember, especially with such a "busy" image, is to make sure that the branding is sharply focused. Especially for items with text on them, blurriness can completely ruin an image. Take your time and make sure text, logos, texture, or other important product features are legible.

3. Anonymous Modeling Is Something You NEED To Learn
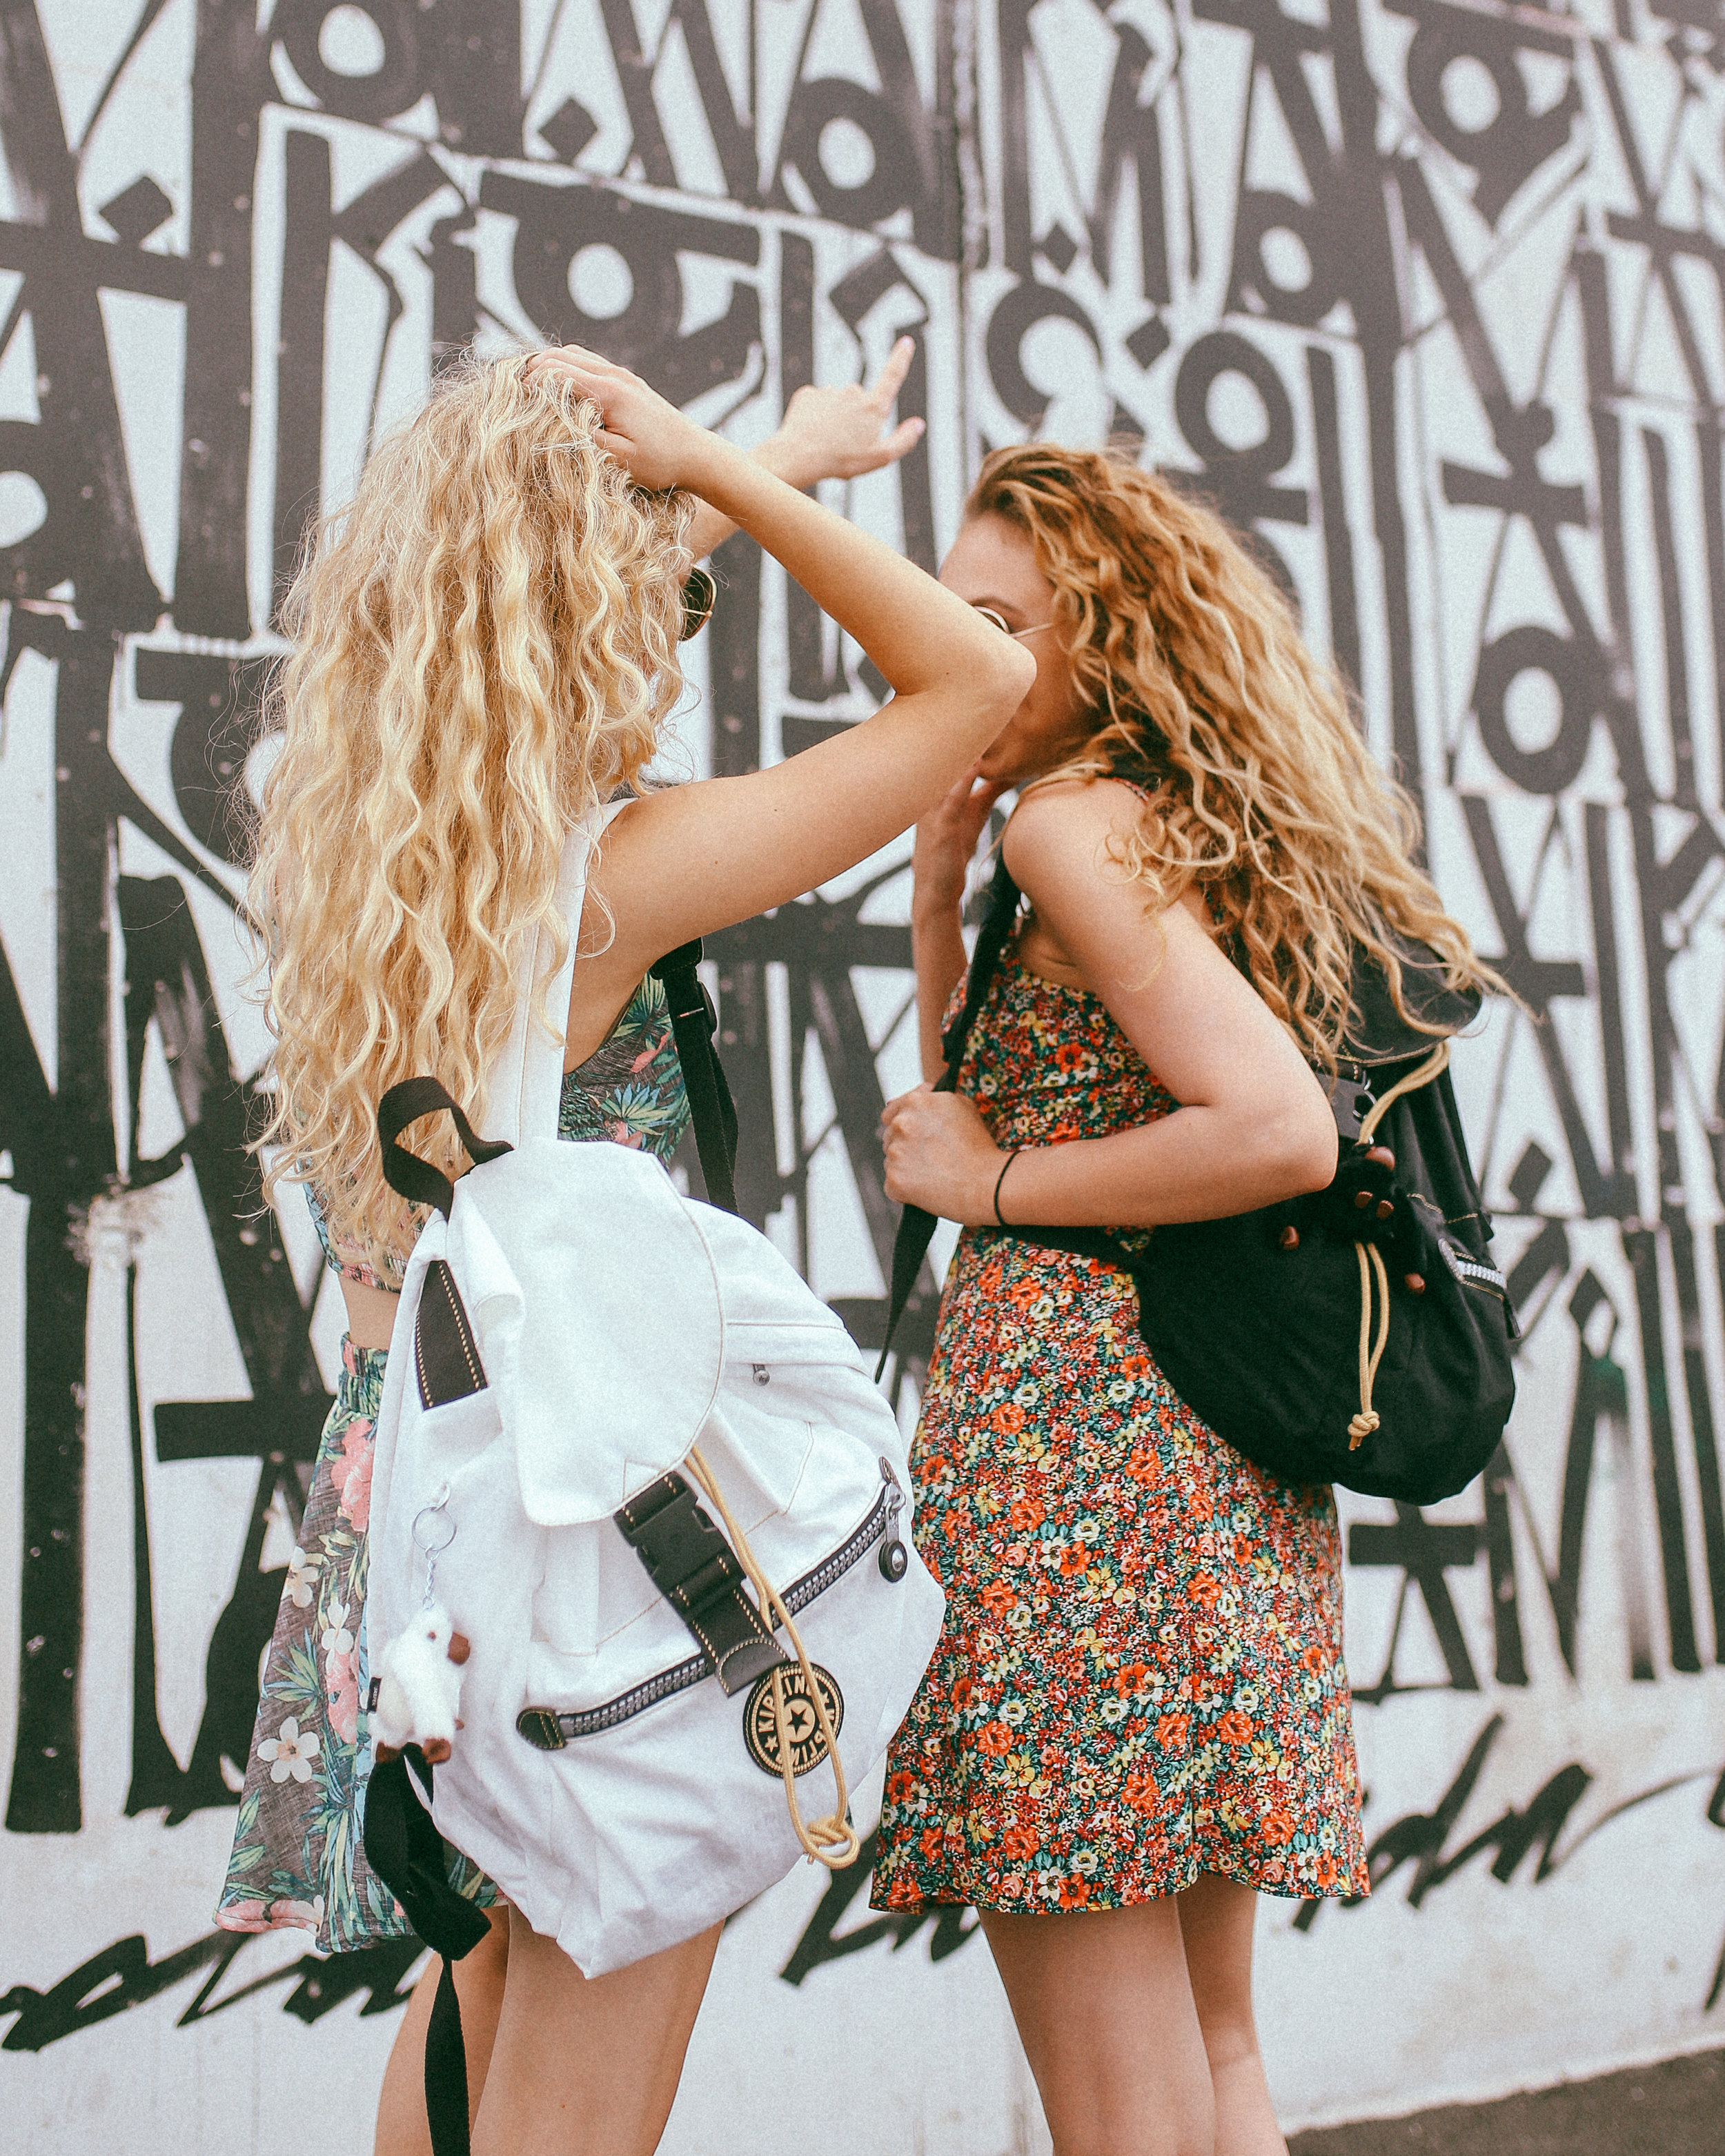
I first came across the term "anonymous model" when working with Urban Outfitters. If you take a look at UO's Instagram account, you'll realize that in almost 90% of their clothes-on-model shots, you can't see the model's face. They may be tagged, but if they weren't you wouldn't be able to tell who it is. Anonymous modeling is when the photographer makes the model naturally unrecognizable - this could be through hair flips, cropping, having the model's back turned, etc. These shots are super popular among clothing and jewelry brands (such as the above image I shot for Paul Hewitt), to keep the image's focus on the product, rather than the person wearing it.

4. Lifestyle Product Images
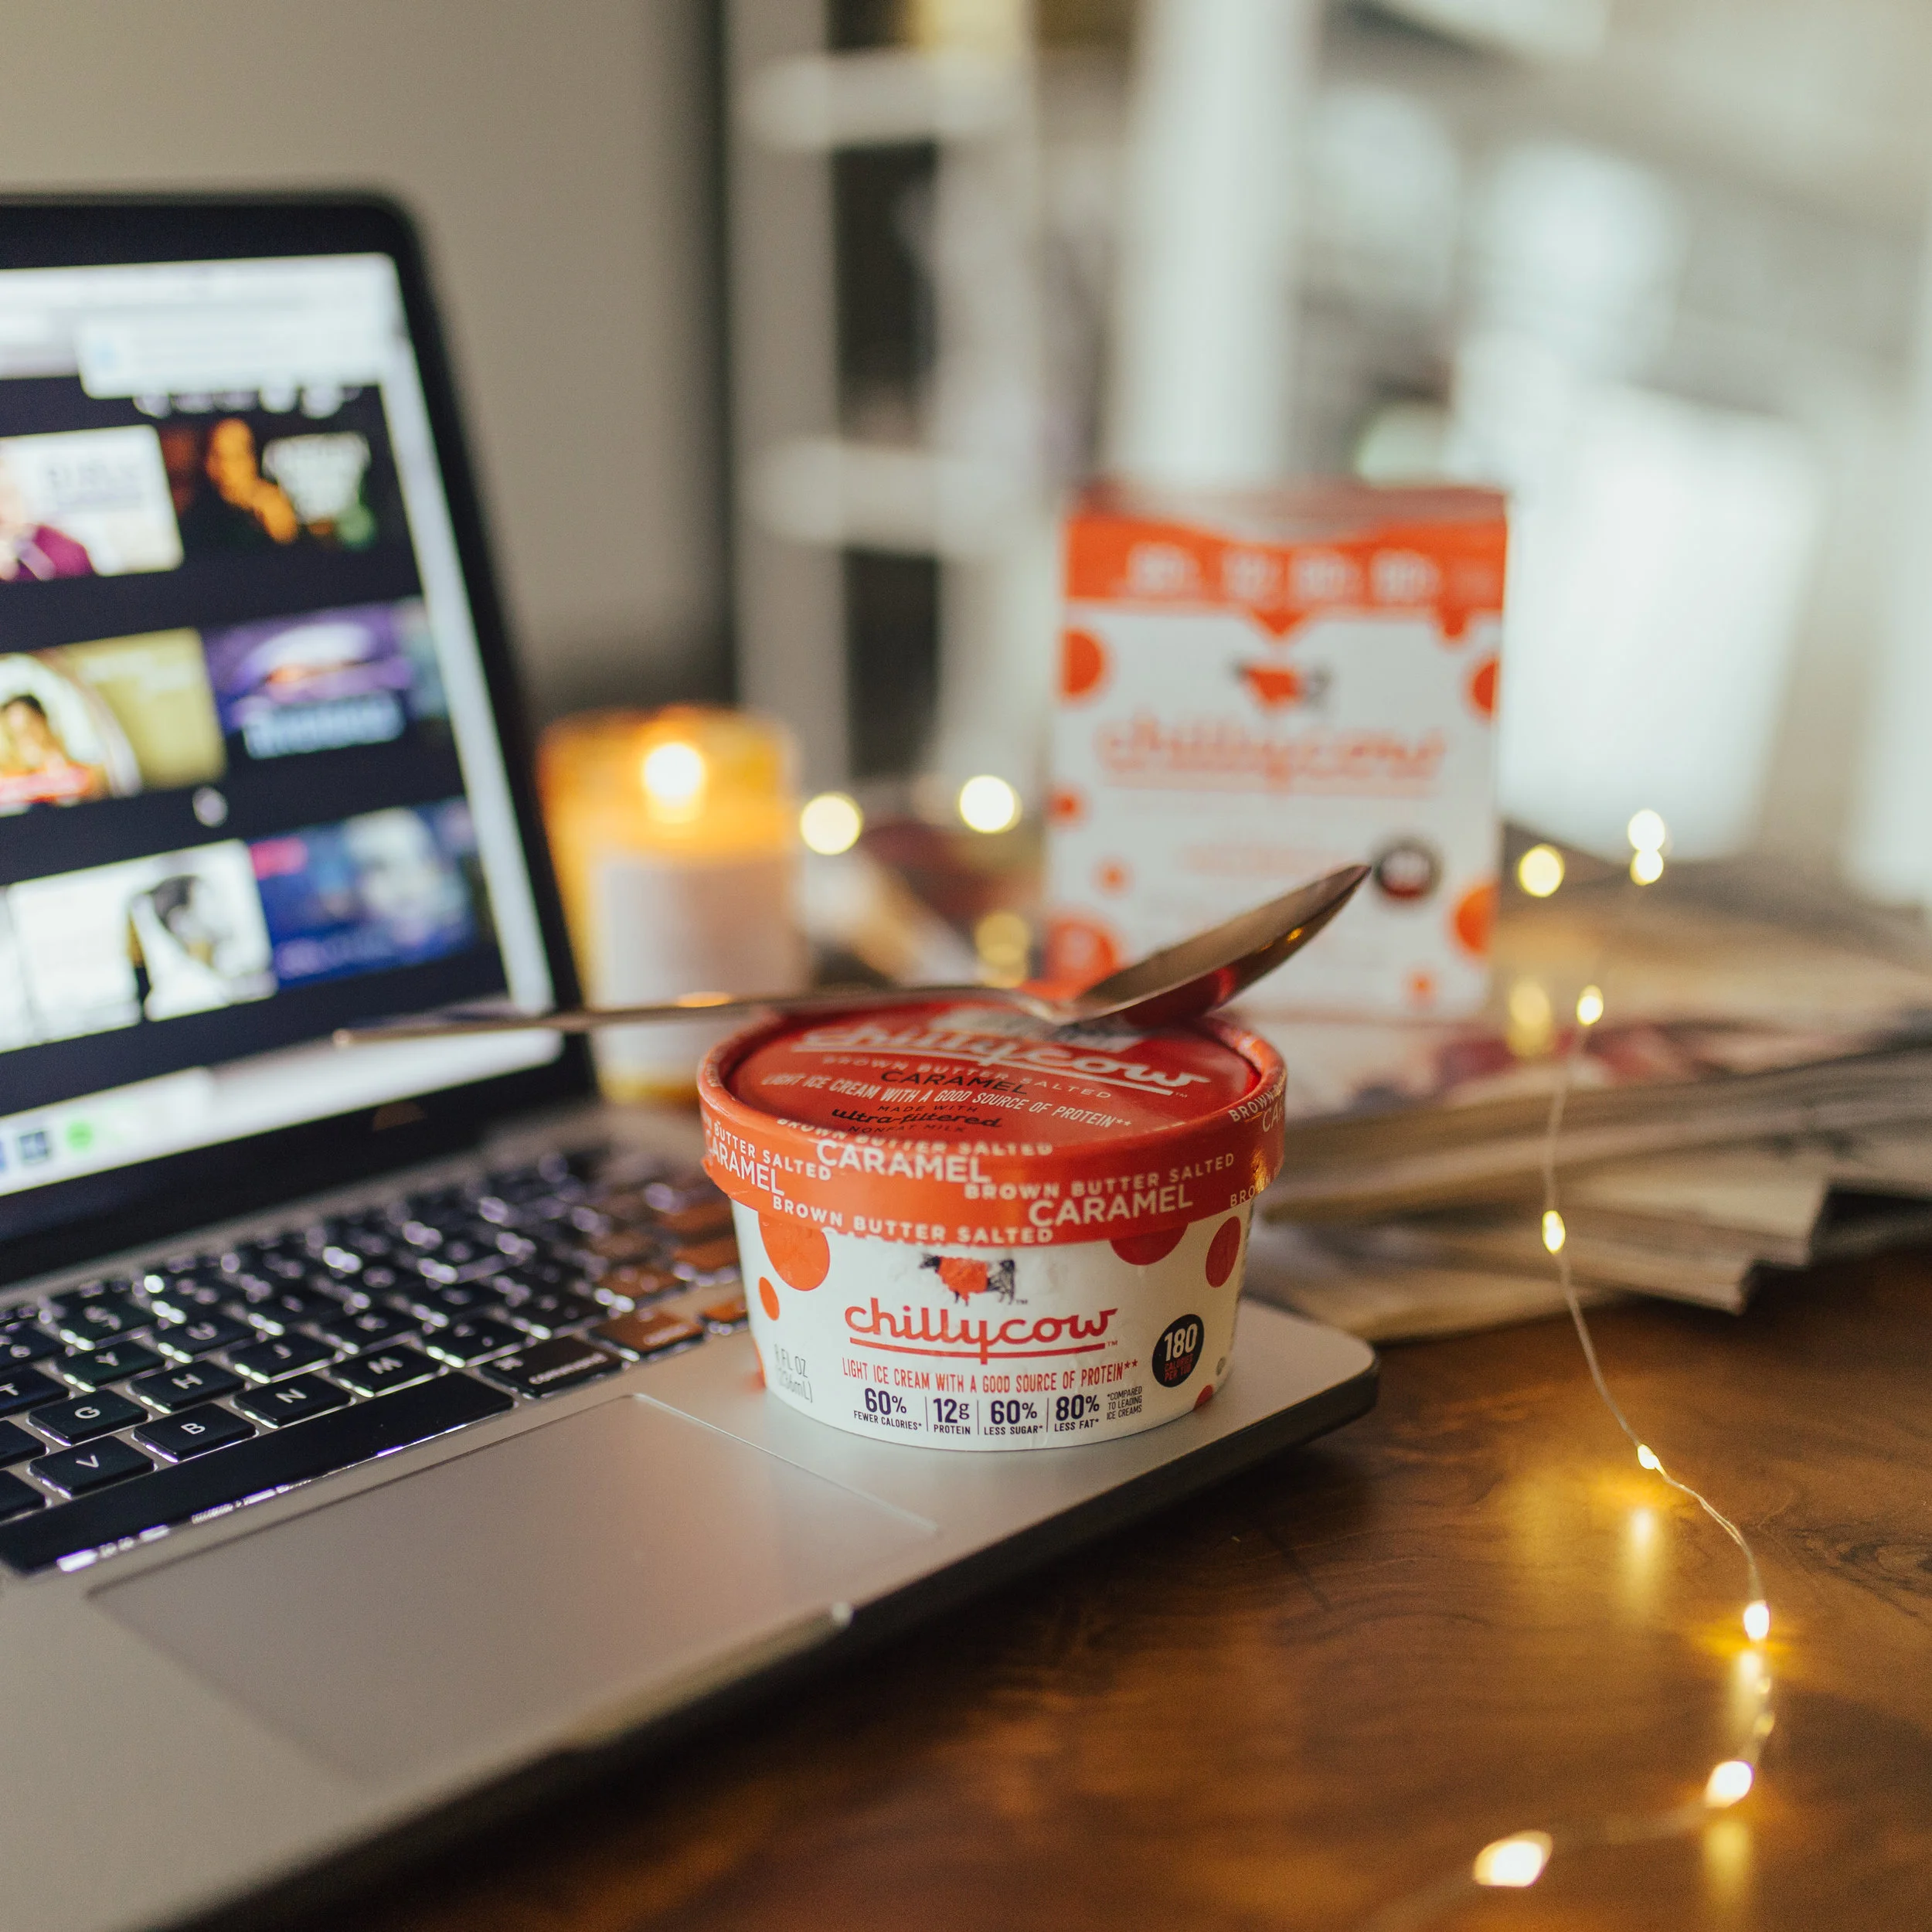
These are kind of like if a flatlay didn't have to be flat. Lifestyle images show products in use and in a natural environment, but still in a way where the product is the focus of the image. The above shot I took for The Bouqs Valentine's Day campaign was taken in my living room, with their flowers being the main focus but still incorporating other objects and pieces of my life in the photo to give it a more personal vibe. Color matching is huge in product imagery; notice how the pink on the pillows on my couch and Yves Saint Laurent cards on the table match the hue of the roses, and the glow of the candle is similar to the yellow tones in the roses as well. The rest of the image is pretty neutral, to make these colors pop.
5. It Doesn't End With Shooting
Alright, so you've shot your product photos, and you're ready to post them, or send them off to a brand. Uh, no. Editing is a major key of this whole thing; edits should be sharp, clean, bright (unless you've been directed otherwise) and should have that semi-unprocessed, edited-but-not type of finish. Normally I create a set of Lightroom presets for each project I work on, to ensure that all of the images feel cohesive as a bundle. If you're working for a brand, make sure your edits match their style, otherwise they'll probably ask for revisions.


Leave a comment below if you have any more questions related to this topic! :)